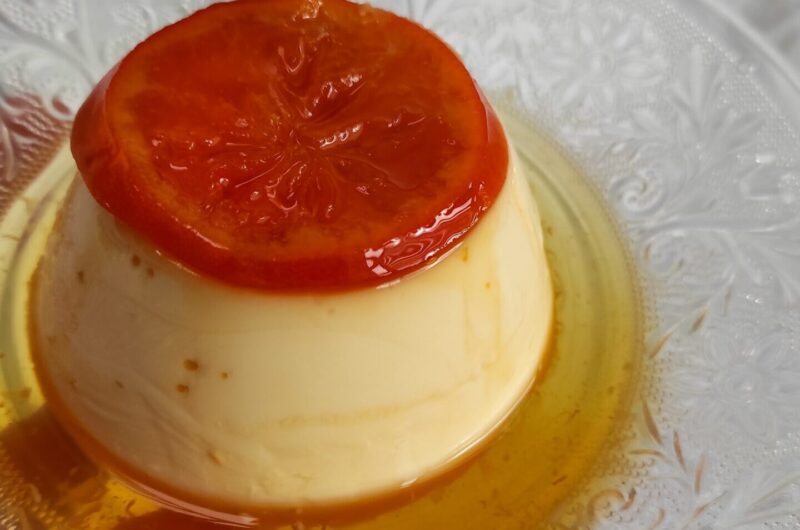
Delicate tangerine flan with candied tangerines.
This flavourful fruit is in season and I wanted to do something different with it, using it on a dessert.
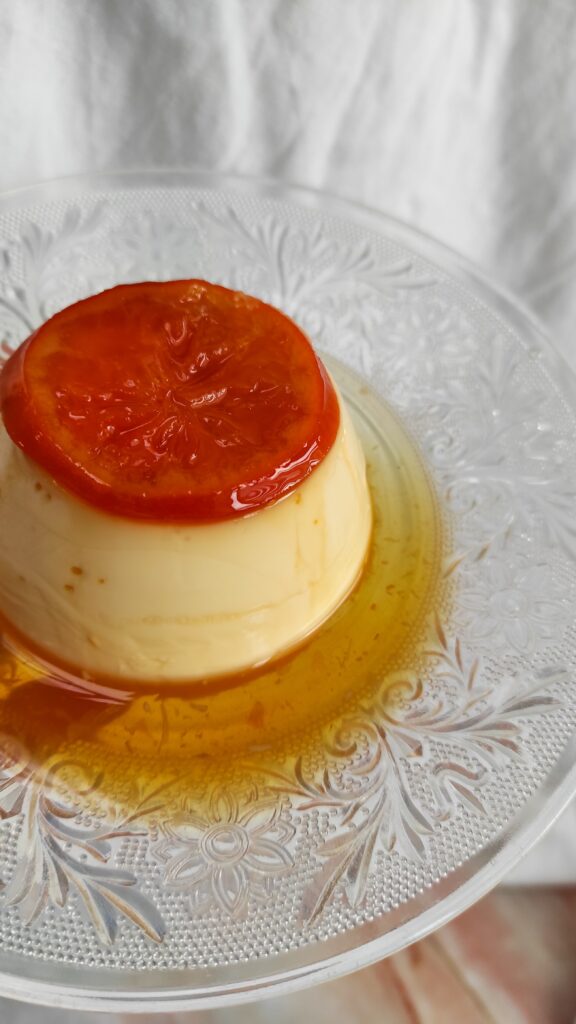
I had the idea to make candied tangerine flan in November, and it was not easy to get the perfect recipe. It took me 7 trials, yes 7 trials of testing the recipe until I got the perfect one.

Flavourful, delicate and sweet, the perfect way to enjoy this seasonal fruit.
Tangerine flan
Course: Dessert4
servings30
minutes40
minutesYou will need 6 metal ramekin.
Ingredients
- Candied tangerine
6 tangerine slices
50 g sugar
50 g water
- Custard or flan
500 ml of milk
4 eggs
80 g sugar
Tangerine or orange zest
Directions
- To remove the bitterness of the tangerine: Bring 1 cup of water to a boil and simmer the tangerine slices for 10 minutes. Repeat this step 4 time, adding new water each time until the tangerine is no longer bitter.
- Bring sugar and water to a boil in a small saucepan. When the sugar is dissolved, and the tangerine slices and simmer about 35 minutes.
- Place the candied tangerine slices in the bottom of each ramekin, 6 in total.
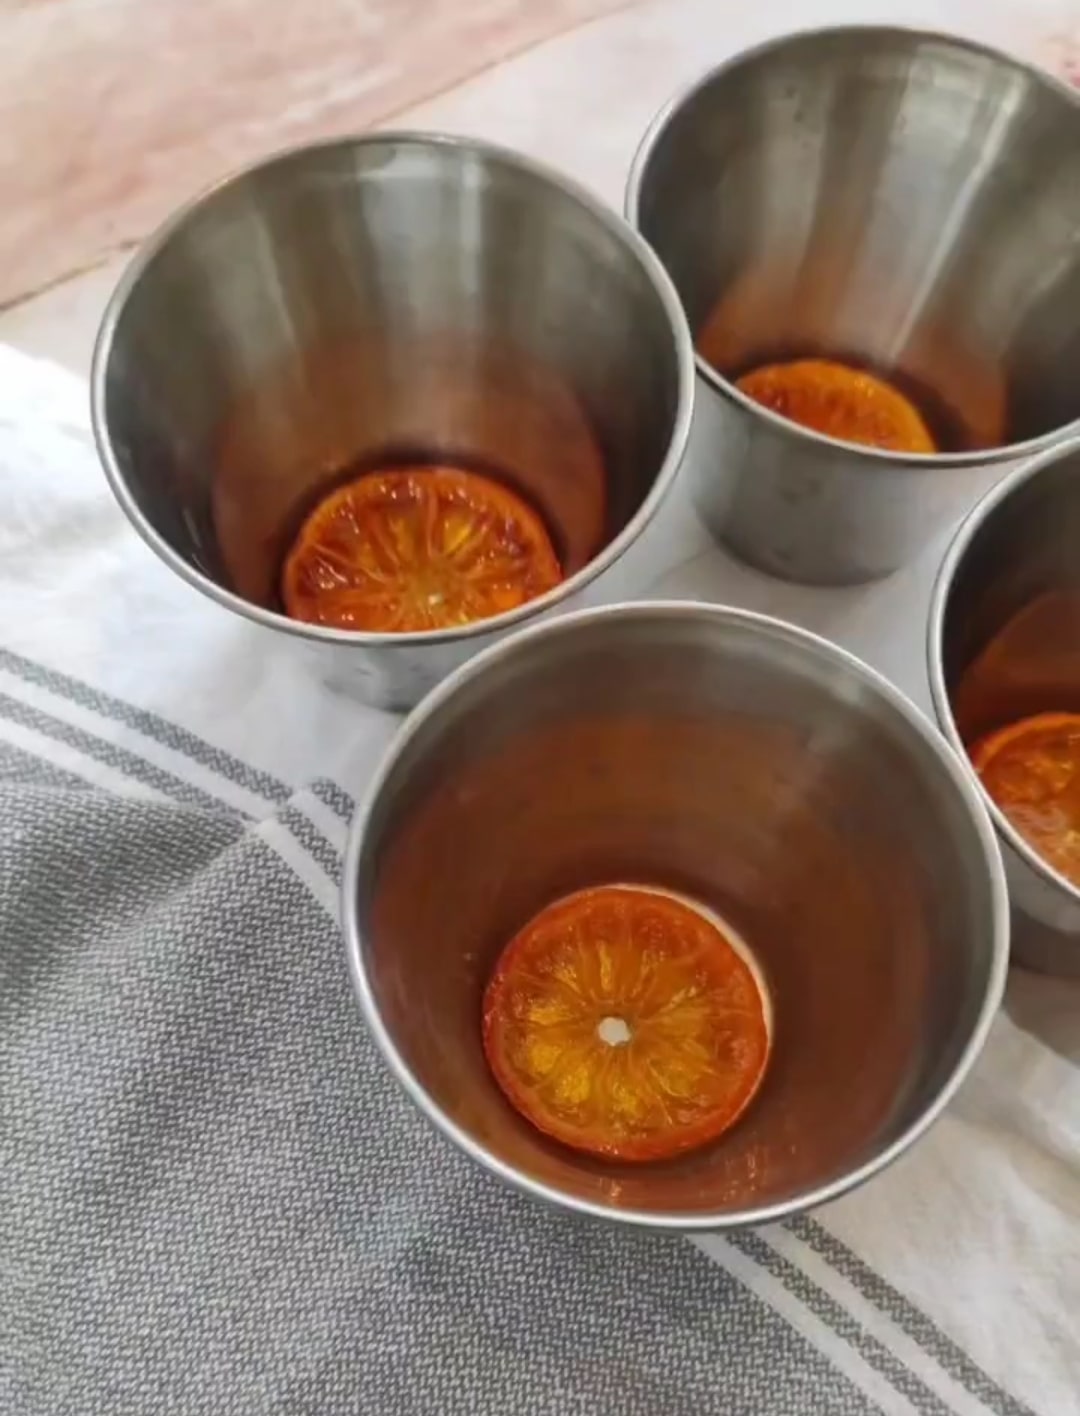
- Simmer the remaining syrup on the pan until begins to caramelize.
- Divide the hot caramel among each metal ramekin. About 1 teaspoon over each tangerine. Set aside.
- Custard or flan
- Put the milk and tangerine or orange zest in a saucepan, set over medium heat. Cook just under simmer for about 20 minutes. Set aside to cool down for about 20 minutes. Discard the tangerine zest.*
- In a medium size bowl, whisk together eggs, sugar and milk.
- Fill each ramekin with the custard mixture.
- Bring a large pot of water to a boil and place steamer on top.
Place the ramekins on the steamed, place the lid and simmer/steam for about 30-35 minutes.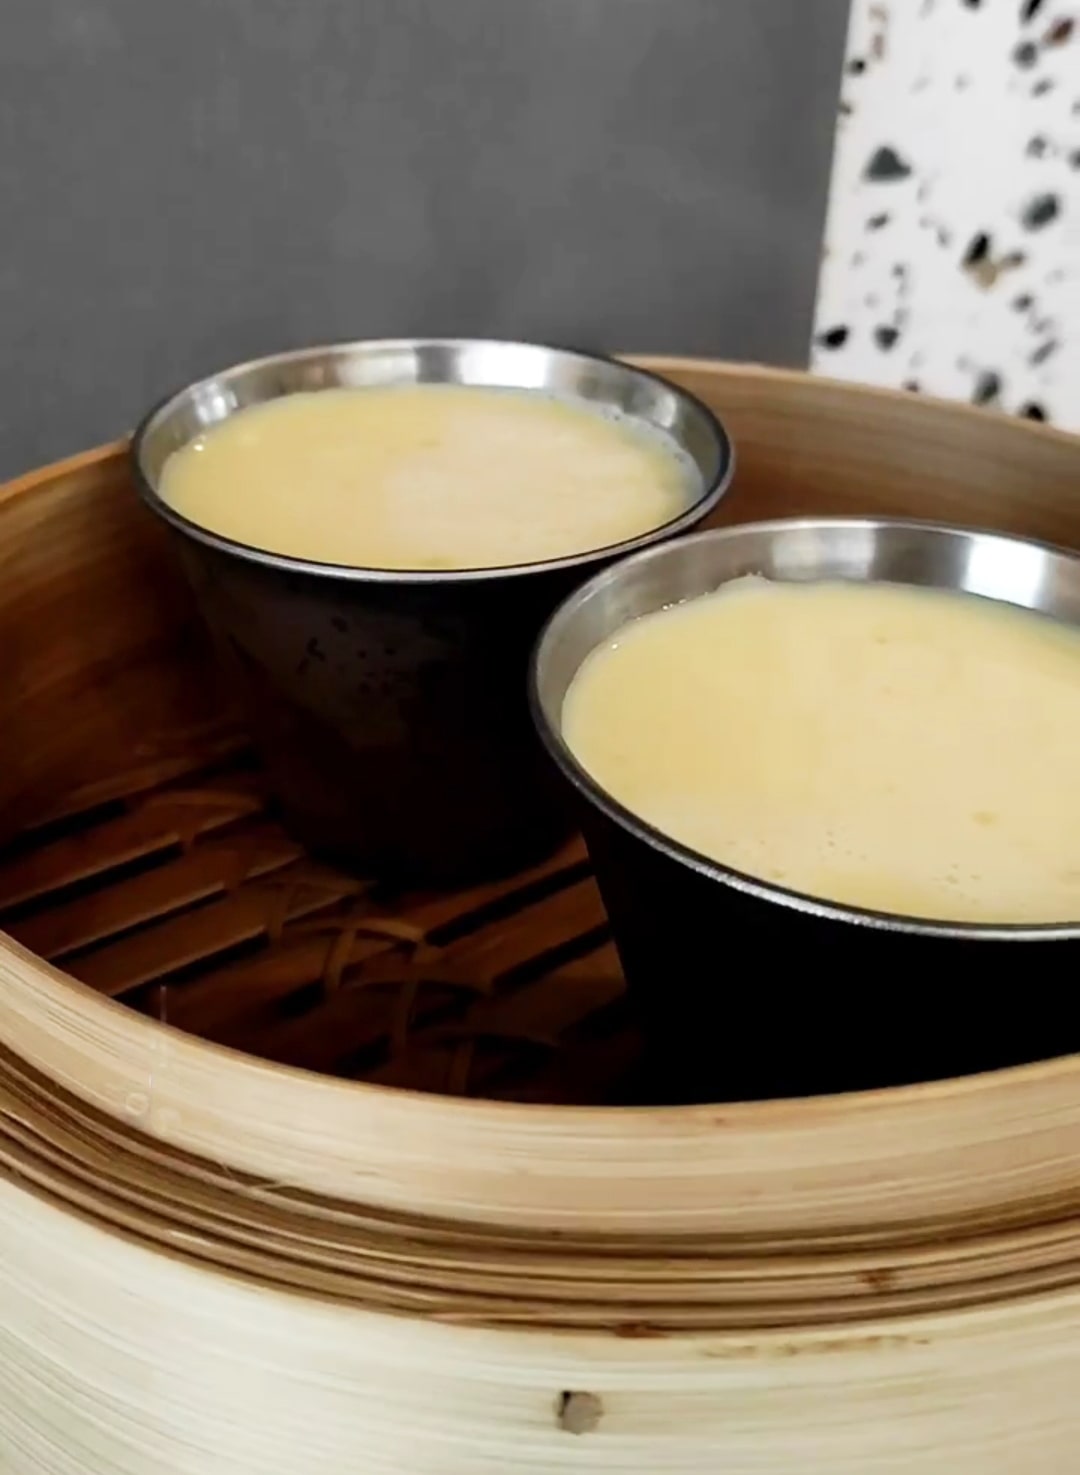
- To check for doneness, touch the surface of the flan with the back of a teaspoon. If liquid, cook for another 5 minutes, if getting a custard bit still fluffy, remove from steamer.
Allow to cool down and store in the fridge overnight. - Run a knife around the edge and invert the metal ramekin into a serving plate. Enjoy it!
Notes
- *You can do this step a day ahead.
These are the metal ramekins I use.
This post contains affiliate links


